
Easy DIY Project: Fork Ring
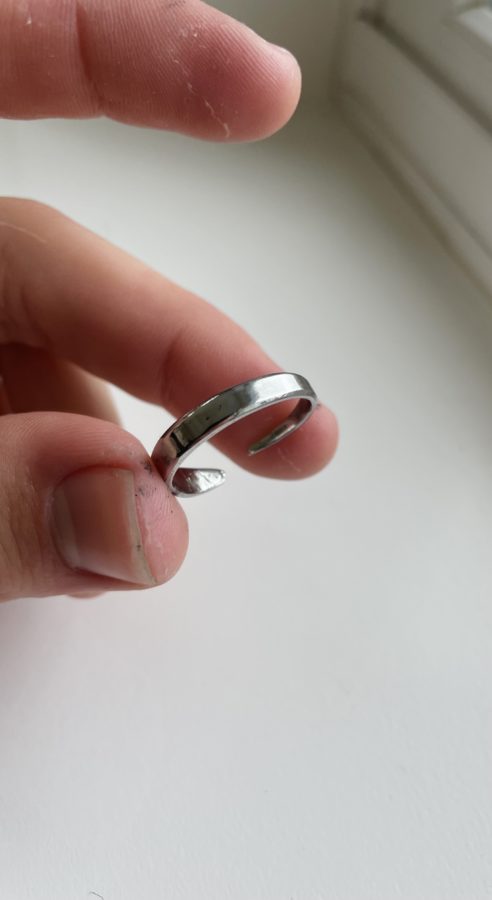
Ring pic 8
*Note from the Editors*
This craft is only to be done with adult permission and supervision. Please wear gloves throughout all steps of this project, please be careful when dealing with fire, and please go to a well-ventilated area (like outside) to sand the ring. Please read through all the instructions to get an idea of what you will be doing.
____________________________
Fork rings are an easy DIY project almost anyone can do with a few simple materials:
- Stainless steel fork (the thinnest one you can find – the thinner it is the easier it is to work with)
- (you can get forks for extremely cheap at a second hand store)
- Gloves
- (please wear thick gloves)
- Kitchen burner
- (found in a kitchen, it lights things on fire)
- Container of water
- Pliers
- (you can get this at a hardware store)
- Hacksaw
- (you can get them at any hardware shop for $10 or less)
- Sand paper
- (you can get some at a hardware store, I recommend 150-300 grit)
And now for the step by step guide on how to make your own fork ring!
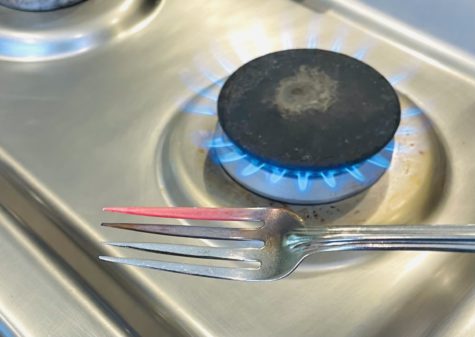
Step 1:
Hold a fork with pliers over a kitchen burner until the metal becomes a glowy red.
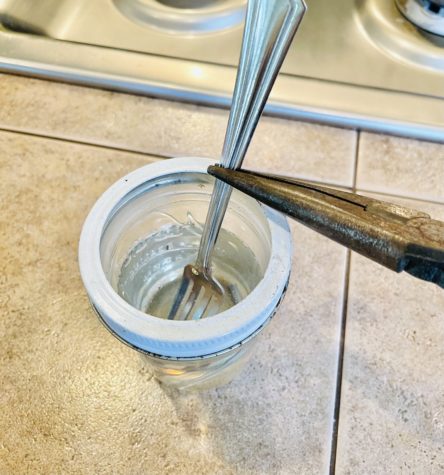
Step 2:
Quickly after the metal becomes red in color, you’ll want to dunk the fork in water. After you quench the side of the fork that was red in color, put the whole fork under cool water from a faucet for a couple seconds – you want to make sure the metal is no longer hot to the touch.
This step, heating the metal until it is red hot and then cooling it immediately in water, is called annealing. It is used to make the metal more pliable and easier to work with.
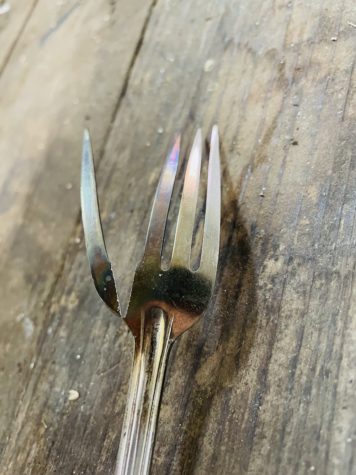
Step 3:
Next, you want to cut off the fork prong you annealed, and cut it off with a hacksaw. Remember to use gloves especially during this step!
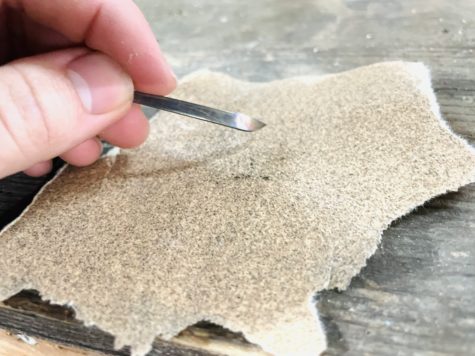
Step 4:
After you’ve cut off the fork prong, you want to sand down all the rough sides with sandpaper. I recommend using 200 grit sandpaper for this step. Try to make the sides as smooth as possible, you don’t want anyone hurting themselves when wearing your ring!
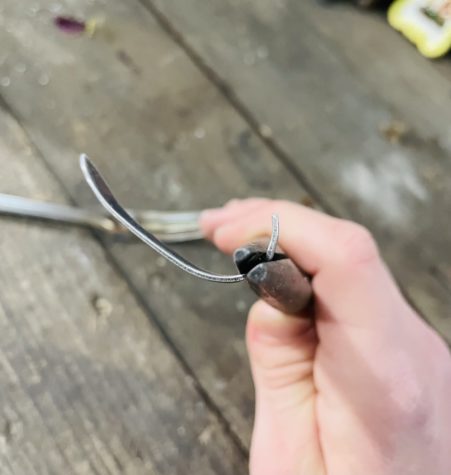
Step 5:
After the metal is smoothed off on all sides, you should start to bend it in a circular shape with pliers. If your metal does not bend easily, try annealing the metal again like you did in steps #1 and #2.
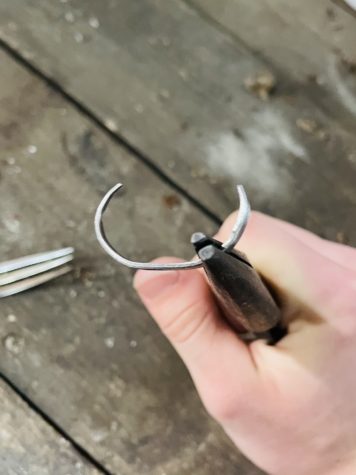
Step 6:
It is best to bend each side of the metal first, then move towards the middle – this is so you’re able to get more leverage when bending the ring, making it easier to manipulate.
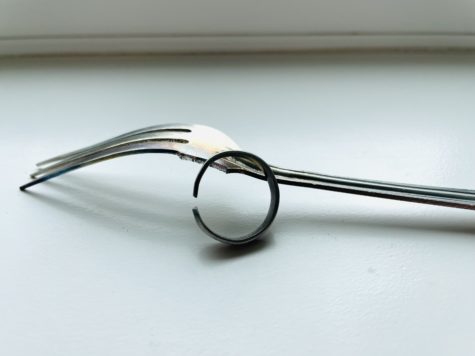
And there you have it, your own fork ring! This awesome project only takes around 30 minutes to complete, and it can make an awesome gift for a loved one or even yourself. If you’d like, you could even take this a couple steps further with better tools, and polish the metal. There are no limits for this project – you can make the ring as simple or as complicated as you want!

James Curl is a senior at Mother of Divine Grace. He plans on going to college in the fall of 2023 for engineering. His interests are camping, industrial...


Anna Schlater • Jun 9, 2023 at 8:56 pm
Wow! What a cool lil’ project, thanks for sharing. Can’t wait to try it out!