Painting Easter Candles
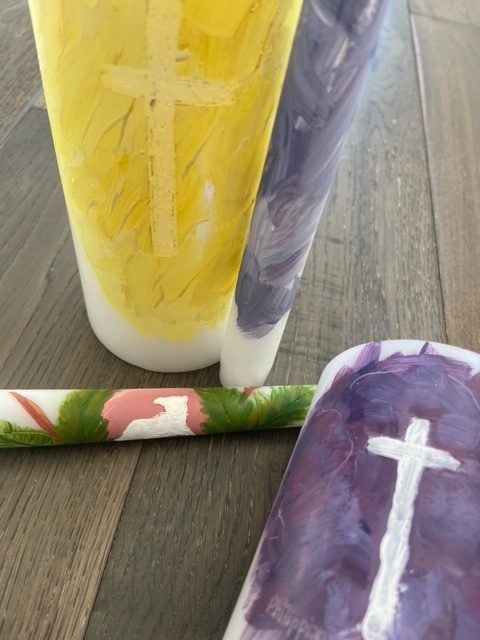
painted candles
As the Church enters Easter season this year, as every year, the faithful must live their lives in the glory of Christ’s resurrection, walking in His light. “…I am the light of the world; he who follows me will not walk in darkness, but will have the light of life.” (John 8:12)
Light is powerful; candles are prominent in the liturgy and especially on Easter Vigil. Check out an interview from a company that makes candles to learn more!
However, what can you do with candles at home? Here are a few ideas on how to use paint to decorate them!
Needed supplies:
-White/natural colored candles that stand alone, and are not in any container. (The bigger the candle the easier it will be for younger kids to paint it, where thinner/tapered candles are harder for younger artists)
-Non-Toxic Acrylic paint. (The packaging on the paint will show if it is non-toxic or not)
-Rubbing alcohol (Nail polish remover can be substituted for this)
-Cotton Ball/paper towel to apply rubbing alcohol/nail polish remover
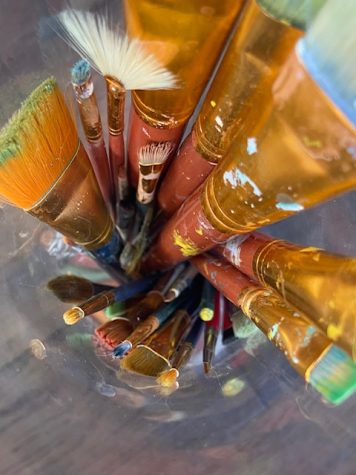
-Paint brushes (having a range of sizes is useful!)
-Scrap paper
-A palette (Note: Acrylic paint dries extremely quickly; once dried it is hydrophobic, meaning it cannot be washed off with soap/water. Using a disposable palette or paper plate may be easiest for clean up.)
Optional Supplies
-Reference image (printed or on a smart device)
-Paper for tracing (tracing paper may be used, but lined paper is usually thin enough to see through as well)
-toothpicks
-candle holder to hold tapered/thin candles still while painting
-tape
-non-toxic pen
How to begin!
Rub the surface candle with rubbing alcohol/nail polish remover with cotton ball or paper towel. (This is to take off the layer of shine that is applied to many manufactured candles, and taking it off allows the paint to stick better.)
Sketch out your design on scrap paper (Or skip to step 3!)
Mix your colors and paint. Start with a first layer and build your colors and detail. (You will most likely need more than one layer of paint, depending on the effect you are going for and the opacity of your acrylic paint.
Allow your candles to dry and display and light them as a reminder of Christ’s life, death, and resurrection!
Use of optional supplies:
Tracing!
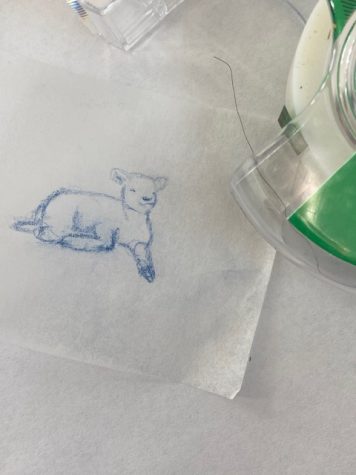
You can use tracing paper/less opaque paper to apply complicated patterns onto a candle!
Rub the surface candle with rubbing alcohol/nail polish remover with cotton ball or paper towel. Let it dry.
Cut out a paper the size of the image you want on your candle
Print out an image the size of your cut-out or use a smart device and size the image on your device to your paper cut-out and trace with a pencil.
On the opposite side of the paper, cover tape over the back side of the paper. (this is to prevent the paper from ripping)
Tape the paper to the candle and use a toothpick to apply pressure on the lines on the paper. This makes a slight indentation in the wax to use as a guide for painting!
Use these indentations as guides to paint the image, or use a non toxic pen to trace the lines!
Scratch Paint!
Rub the surface candle with rubbing alcohol/nail polish remover with cotton ball or paper towel. Allow to dry
Paint the candle a flat color/colors and use a toothpick to “scratch” the color off and expose the wax under the paint.This can create fun texture and can be easier with fine detailed images.
Tip: Use darker/more contrasted colored paint to make the lines/details more visible!
Clean up
TIP: Because acrylic paint dries quickly, paint brushes should be washed while paint is still wet.
Finally! If you have had fun decorating your candles and reflecting on Christ’s light in our life check out these other stories by modgnews.com.
https://www.modgnews.com/11960/arts/how-to-make-a-candle/
https://www.modgnews.com/11899/features/cathedral-candle-company-interview/

Kaity Rose Gallagher is a News Production student and a senior at MoDG. She has plans to attend higher education and major in theology.